1 | Label your boards with one or two words...
Nothing annoys me quicker than going to someone's Pinterest and scrolling through all of their boards trying to find something specific and having to stop and read each long title to figure out which board the pin I am looking for is on. And then I remembered, "oh wait, that's how my boards are labeled." So I did some title changing very quickly!
- Before my food/recipes board was labeled "Good lookin' what's cookin?" I changed it to "Recipes" you could also go with "Food" or "Eat" or if you separate them into different categories you could do, "Appetizers", "Main Dishes", "Sides", "Desserts", "Drinks", etc.
- My Travel board was "Take Me There" and I changed it to "TRAVEL" of course you can see the pictures and make out what the board probably is about, but when I'm in a hurry trying to find a pin I saw earlier that day I need to get to that point quickly.


2 | Move your boards..
My first board always stays the same, it's my blog board. The next few after that I try to keep it updated with the upcoming seasons. So right now I have my fall and Christmas board. Right now people are mostly pinning fall and Christmas stuff to get ideas for the upcoming holidays.
Just click on your board and drag it to the location you want it. Very simple!
3 | Categorize your boards .
I like to have all my boards in their own little area. All my seasons are next to each other, style, travel, food, etc. Again, just click on your board and move it to your desired area.


4 | Cover Photo
I make sure on all of my boards that the cover picture actually represents what is on that board.
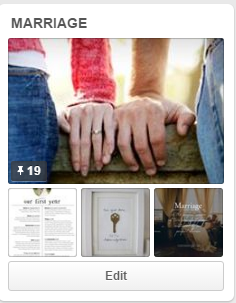
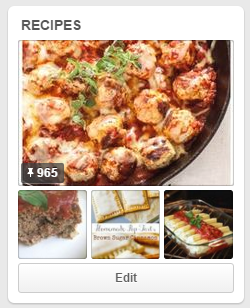
Example... These two pictures are representing what the board consists of, and they fit pretty well too.

To change the cover picture of your board...
1. Click on the board > Top right hand corner click Edit Board
2. Once you are in there, click on Change


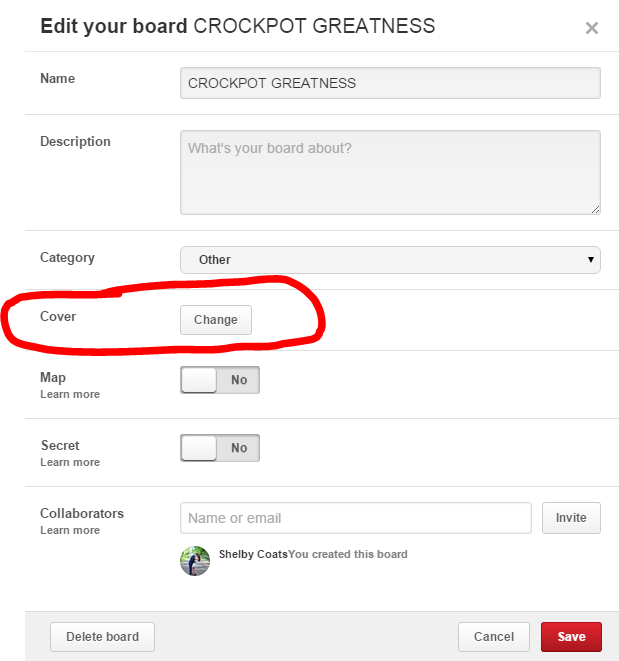
3. You will be able to scroll through the pictures that are on that board. Go through them and decide which represents that board the best and which one fits the best. You can adjust the picture some to have it fit in the square.

4. Save Changes.
5 | Description...
On each board, go through and add a short and sweet description of what is on the board.

So there you go! Just some small tips that I think can really make a big difference, for you and for your followers! Do you have any tips for organizing your Pinterest boards?


I love this post SO much!!!! Over the last few months I've tried deleting pins that lead to nowhere or I've never looked at again, as well as updating the cover photos, etc! This post speaks to me ;) great job, girl
ReplyDeleteGreat tips!! I recently went through and broke up some of my boards to be more specific and limit pins (no more 600+ pins) but there's still so much more I could do
ReplyDelete